This is a blog post from the past. Originally written at 2020-02-11.
Introduction
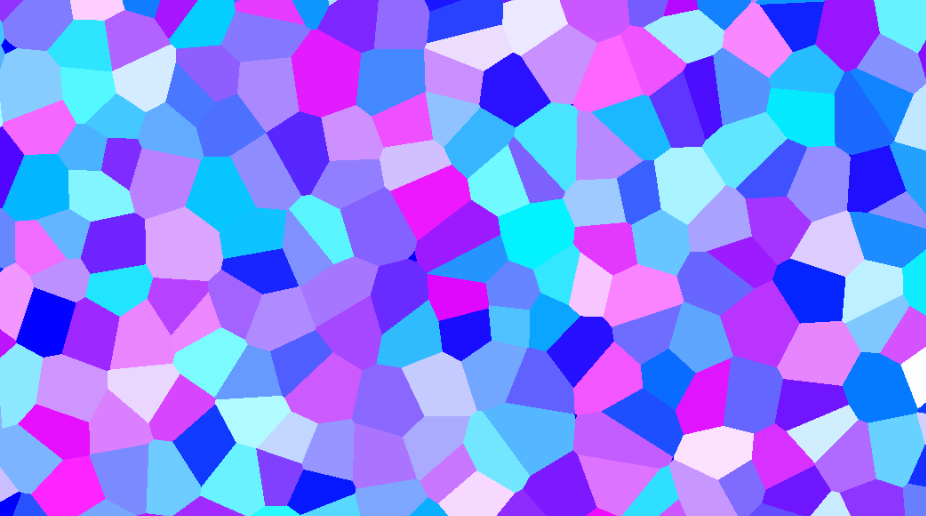
Now, you must be wondering why you should read my blog post if there are so many far better tutorials out there. And you are right, boi. I have absolutely no confidence in what I write, and that’s why I leave all those references. So, Worley Noise! If you didn’t hear about this before, or Cellular Noise, or something to that extent, maybe you’ve heard the Voronoi diagram, right? It looks a little bit like this:

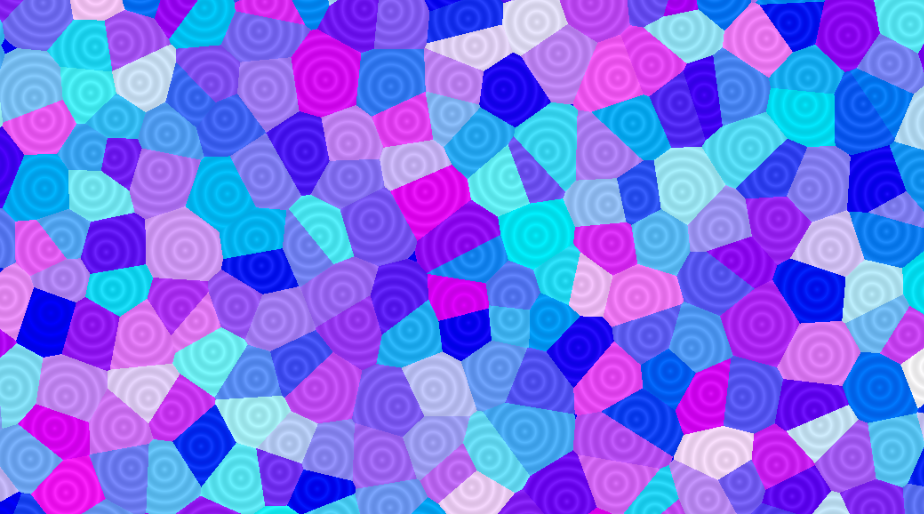
And with a little bit of tweak, BAM! It becomes Worley Noise! Let’s begin!
Implementation
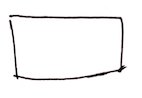
It’s actually really, really simple. First, Let’s get a canvas:
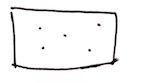
And then add a few random dots:
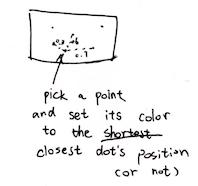
Then, for every pixel inside this canvas, we calculate the closest dot to the pixel. After this iteration, every pixel will be colored (because there will always be a closest point), and things would look triangular and cool.
Well, doodling sucks. Let’s take a look a the code!
// Five random points
vec2 points[5];
points[0] = vec2(0.3, 0.8);
points[1] = vec2(1.2, 0.1);
points[2] = vec2(1.0, 0.5);
points[3] = vec2(0.2, 0.4);
points[4] = vec2(0.6, 1.0);

// Keep track of the minimum distance,
float m = 1.0;
// and the closest dot
vec2 closestDot;
for (int i = 0; i < 5; i++) {
    float dist = distance(uv, points[i]);
    // Distance closer than minimum distance?
    if (dist < m) {
        // Update it
        m = dist;
        closestDot = points[i];
    }
}

// Set the pixel output color's R & G component to be the position of the dot
gl_FragColor = vec4(closestDot, 0.0, 1.0);
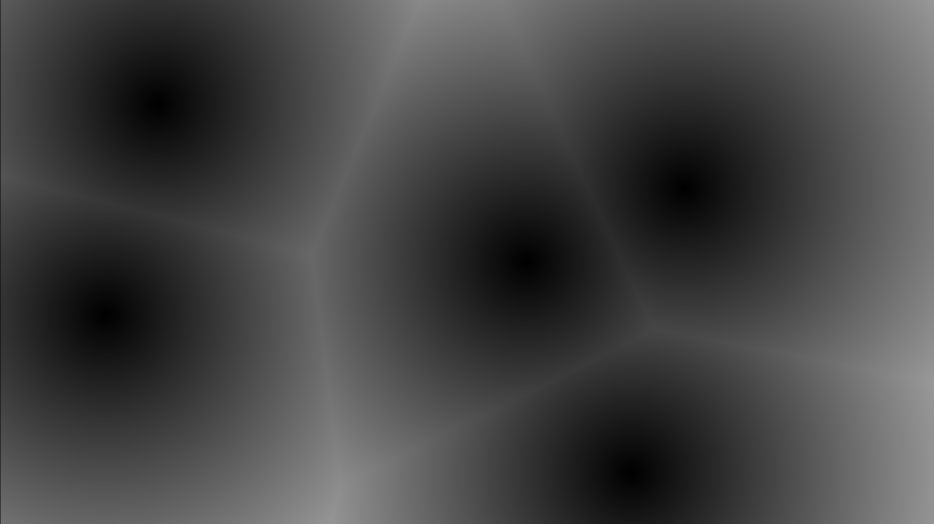
And now obviously all color that is closest to the point would be colored as areas. Which is very cool! And yeah, it is that easy. It’s cool, because it gets irregular shapes.
No ifs, no buts
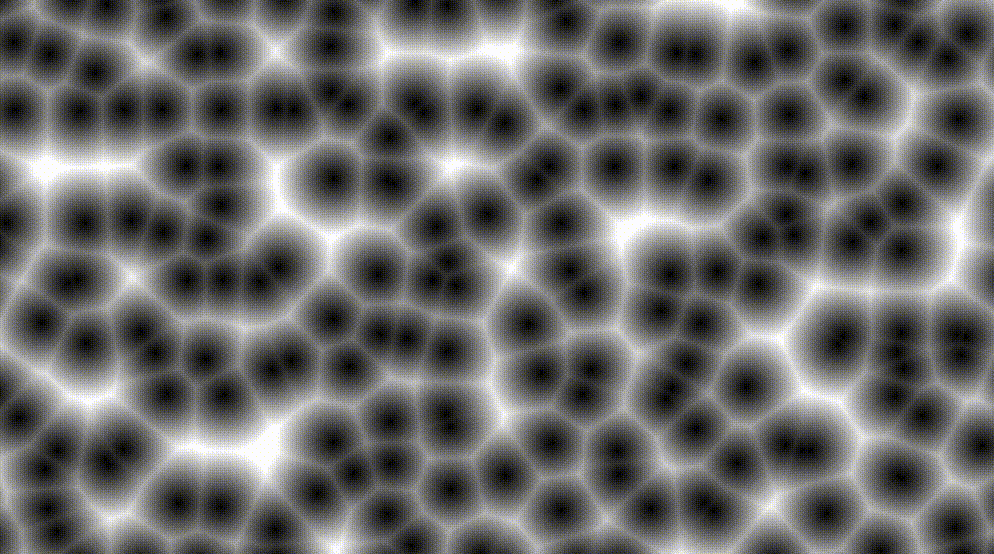
Coloring areas are nice and all, but it’s a little bit boring. Also it gets this if. We all know that ifs in GLSL is bad! Bad for performance! Bad if! Well, we can take a step back, and instead of coloring areas, we set the output pixel’s color to the closest point’s distance. In this way, our output image would become a continuous grayscale (or whatever scale you prefer) image:
This, by the way, could make really good looking lava moats, or dry rocks, if you could think about a way to animate those random dots, which we will cover later:

Just a different color! Well, let’s take a look at the source!
vec2 points[5];
points[0] = vec2(0.3, 0.8);
points[1] = vec2(1.2, 0.1);
points[2] = vec2(1.0, 0.5);
points[3] = vec2(0.2, 0.4);
points[4] = vec2(0.6, 1.0);

// ONLY keep track of the minimum distance.
float m = 1.0;
for (int i = 0; i < 5; i++) {
    float dist = distance(uv, points[i]);
    m = min(m, dist); // Or just minimize it to
    // m = min(m, distance(uv, points[i]));
}

// Set the pixel output color's grayscale component to be the distance to the closest point
gl_FragColor = vec4(m, m, m, 1.0);
Easy peasy lemon squeezy!
Removing for
ifs are gone now, and that’s good; but for still exists. And as there is actually a if in for, for isn’t good and thus we should remove it as well. We could procedurally generate the points on the way. Not only it saves up memory as generating points use pure maths, we could have infinite points, and thus the voronoi diagram can expand to infinity.
But first, we will just take a look at how we will remove for. So how could we do that, actually? Well, of course we should use the space tiling technique:
uv *= 3.0; // zoom out; change it as you please
vec2 u = floor(uv);
vec2 f = fract(uv);
gl_FragColor = vec4(sin(u), 0.0, 1.0);
In this way, the space could be tiled elegantly:
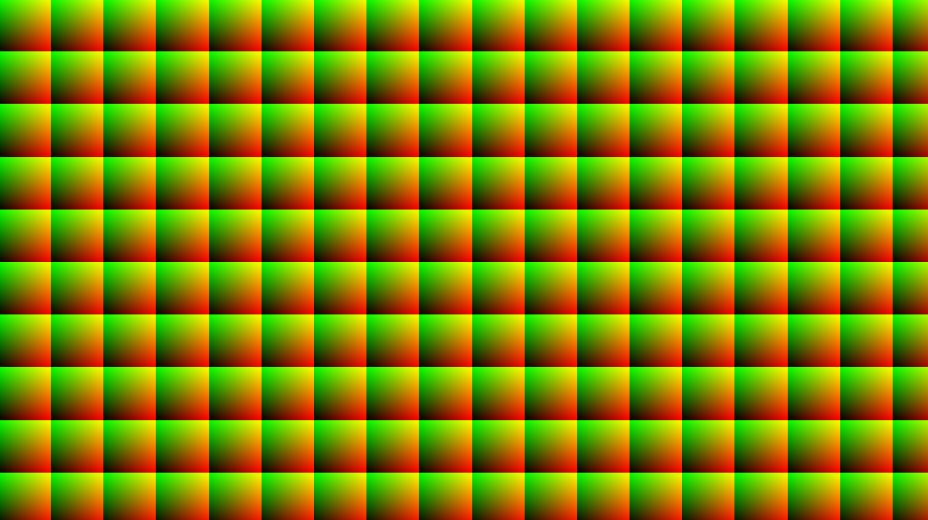
every color grid is a tiled space. Also in this image, I zoomed way out so you could see the tiled effect properly. Now after tiling, f becomes our new uv; it is standarized, as it’s always in [(0, 0), (1, 1)). Then, We could just generate a point in every tile!
// our dear one-liner
vec2 rand(vec2 u) {
    return fract(sin(vec2(dot(u,vec2(127.1, 311.7)),
                          dot(u,vec2(269.5, 183.3)))) * 43758.5453);
}

void main(void)
{
    vec2 uv; // Get uv in some way

    uv *= 3.0; // Zoom out
    vec2 u = floor(uv);
    vec2 f = fract(uv);
    vec2 p = rand(u); // So every tile's point will always be the same

    float m = distance(f, p);
    gl_FragColor = vec4(
        m, m, m,
        1.0);
}
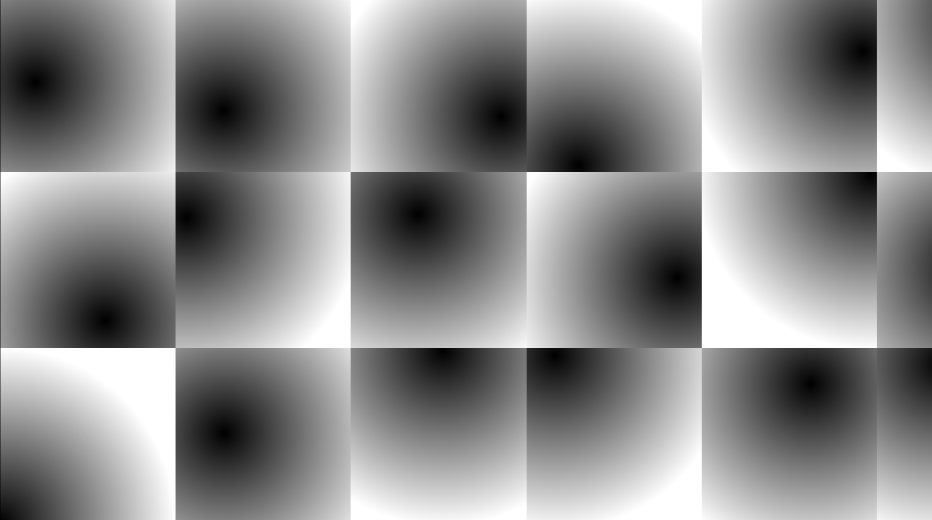
Well, remember our rand function? If not, check it out here. After tiling & generating, we could make sure all tiles always get a point located at somewhere. However, it doesn’t look like the original Worley stuff again, because there is only one point left to compare; there is no way to get the position of other points!
Or is there?
Well obviously there is! As we can see clearly, the closest point to a pixel only have at most 9 possibilities. Take the pixel in green circle for example.
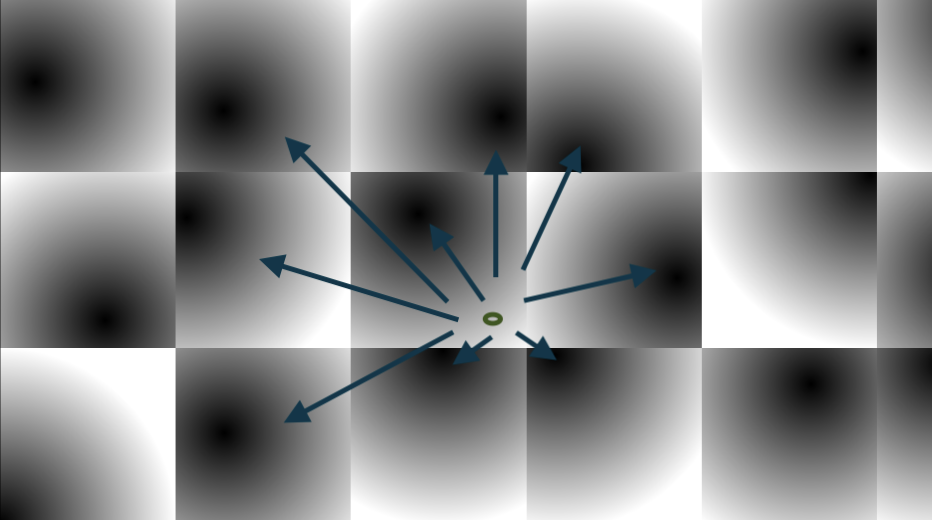
In other words, its 9 neighbros. Other points are impossible to be closer to the 9 neighbors, right? So what we need now is a double loop (well, power comes at a cost):
vec2 rand(vec2 u) {
    return fract(sin(vec2(dot(u,vec2(127.1, 311.7)),
                          dot(u,vec2(269.5, 183.3)))) * 43758.5453);
}

void main(void)
{
    vec2 uv; // Go get it yourself

    uv *= 3.0; // Zoom out
    vec2 u = floor(uv);
    vec2 f = fract(uv);
    float p = 1.0; // Assume furthest
    for (int y = -1; y <= 1; y++) {
        for (int x = -1; x <= 1; x++) {
            vec2 off = vec2(x, y);
            p = min(p, distance(f - off, rand(u + off)));
        }
    }

    gl_FragColor = vec4(
        p, p, p,
        1.0);
}
And here we go!
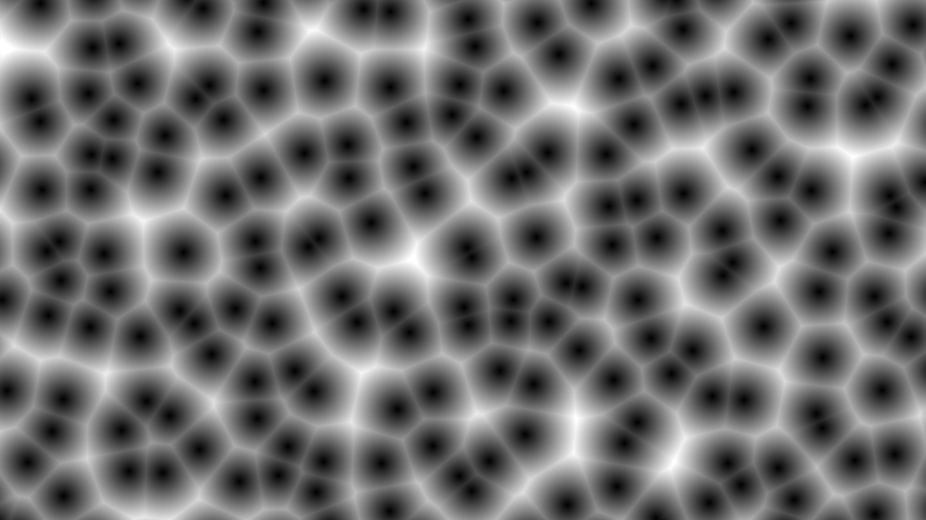
*ZOOM*

Infinite Worley noise, at your disposal!
Adding isolines
Adding isolines could make the thing kinda sorta looks like a triangular contour. First we are gonna use the Voronoi code, only it is the infinite version:
uv *= 10.0;

vec2 u = floor(uv);
vec2 f = fract(uv);
float m = 1.0;
vec2 mPos;
for (int y = -1; y <= 1; y++) {
    for (int x = -1; x <= 1; x++) {
        vec2 p = rand(u + vec2(x, y));
        float d = distance(f - vec2(x, y), p);
        if (d < m) {
            m = d;
            mPos = p;
        }
    }
}

vec3 color = vec3(rand(mPos), 1.0); // use rand so the color does not go out of bound
                                    // and set B=1.0 so the screenshot looks samsungy

color -= abs(sin(m * 80.0)) * 0.01; // This line shows the isoline

gl_FragColor = vec4(
    color,
    1.0);
This is what it looks like without isoline: (Oooh, Samsung Galaxy something!)
Then we subtract the output color by abs(sin(distance to the point * n)) * k. tweak the n for the stripe count you want, and tweak k for the stripe obviousness. And when you set k = 1, and zoom level = 2.0 or something, you will get a cool looking neon effect! That’s exactly how I get the featured image. Also lower the zoom level. This is what it looks like with isoline:
Animation
Animating the scene is extremely easy. Just use a sine function to move the generated points around (but not too much, otherwise it will move so far out it would actually be the closest in other tiles, and the image would look jagged). Also, the color hash trick above would not work, as the closest point will change now. It will result in rapidly blinking. Solution exists, of course; but you gotta think about a way.
uv *= 10.0;

vec2 u = floor(uv);
vec2 f = fract(uv);
float m = 1.0;
vec2 mPos;
for (int y = -1; y <= 1; y++) {
    for (int x = -1; x <= 1; x++) {
        vec2 p = rand(u + vec2(x, y));
        // Just gotta add one single line here
        p = 0.5 + 0.5 * sin(1.23 * time + 10.1 * p);
        // ^^^^^^^^^^^^^^^^^^^^^^^^^^^^^^^^^^^
        float d = distance(f - vec2(x, y), p);
        if (d < m) {
            m = d;
            mPos = p;
        }
    }
}

vec3 color = vec3(rand(mPos), 1.0);

gl_FragColor = vec4(
    color,
    1.0);
Conclusion
Well, we are ending things here. I’ve truly learned some interesting effects today. It could fake 3D balls effect, without actually Ray marching; you know that’s hard. We could also just use it like regular noise, even though Worley noise has less application than Perlin noise. There are usages for it, of course, and I hope one day they could actually come in handle!
References
- A Cellular Texture Basis Function, Steven Worley
- Voronoi Diagram. Wikipedia
- Chapter 12, The Book of Shaders
- Worley Noise, Wikipedia
- Perlin Noise, Of Shaders & Triangles (thats me!)
Comments